

The Spock API requires a Professional or Enterprise plan. Teams on the Free plan will see an upgrade prompt instead of the API key management page.
Why use the API
- HRIS & payroll sync — Pull leave data into your HR or payroll system automatically
- Custom reporting — Build dashboards and reports tailored to your organization
- Data export — Extract leave records for compliance, auditing, or analytics
- Incremental sync — Use
updated_sincefilters to fetch only what changed since your last sync
Authentication
The API uses key-based authentication. Every request must include an API key in theAuthorization header.
- Keys use the format
spk_followed by 48 hex characters (52 characters total) - Each key is tied to a single workspace
- Multiple keys per workspace are supported for rotation without downtime
- Keys can be revoked at any time
- The full key is shown only once at creation — store it securely
Creating an API key
1
Open API settings
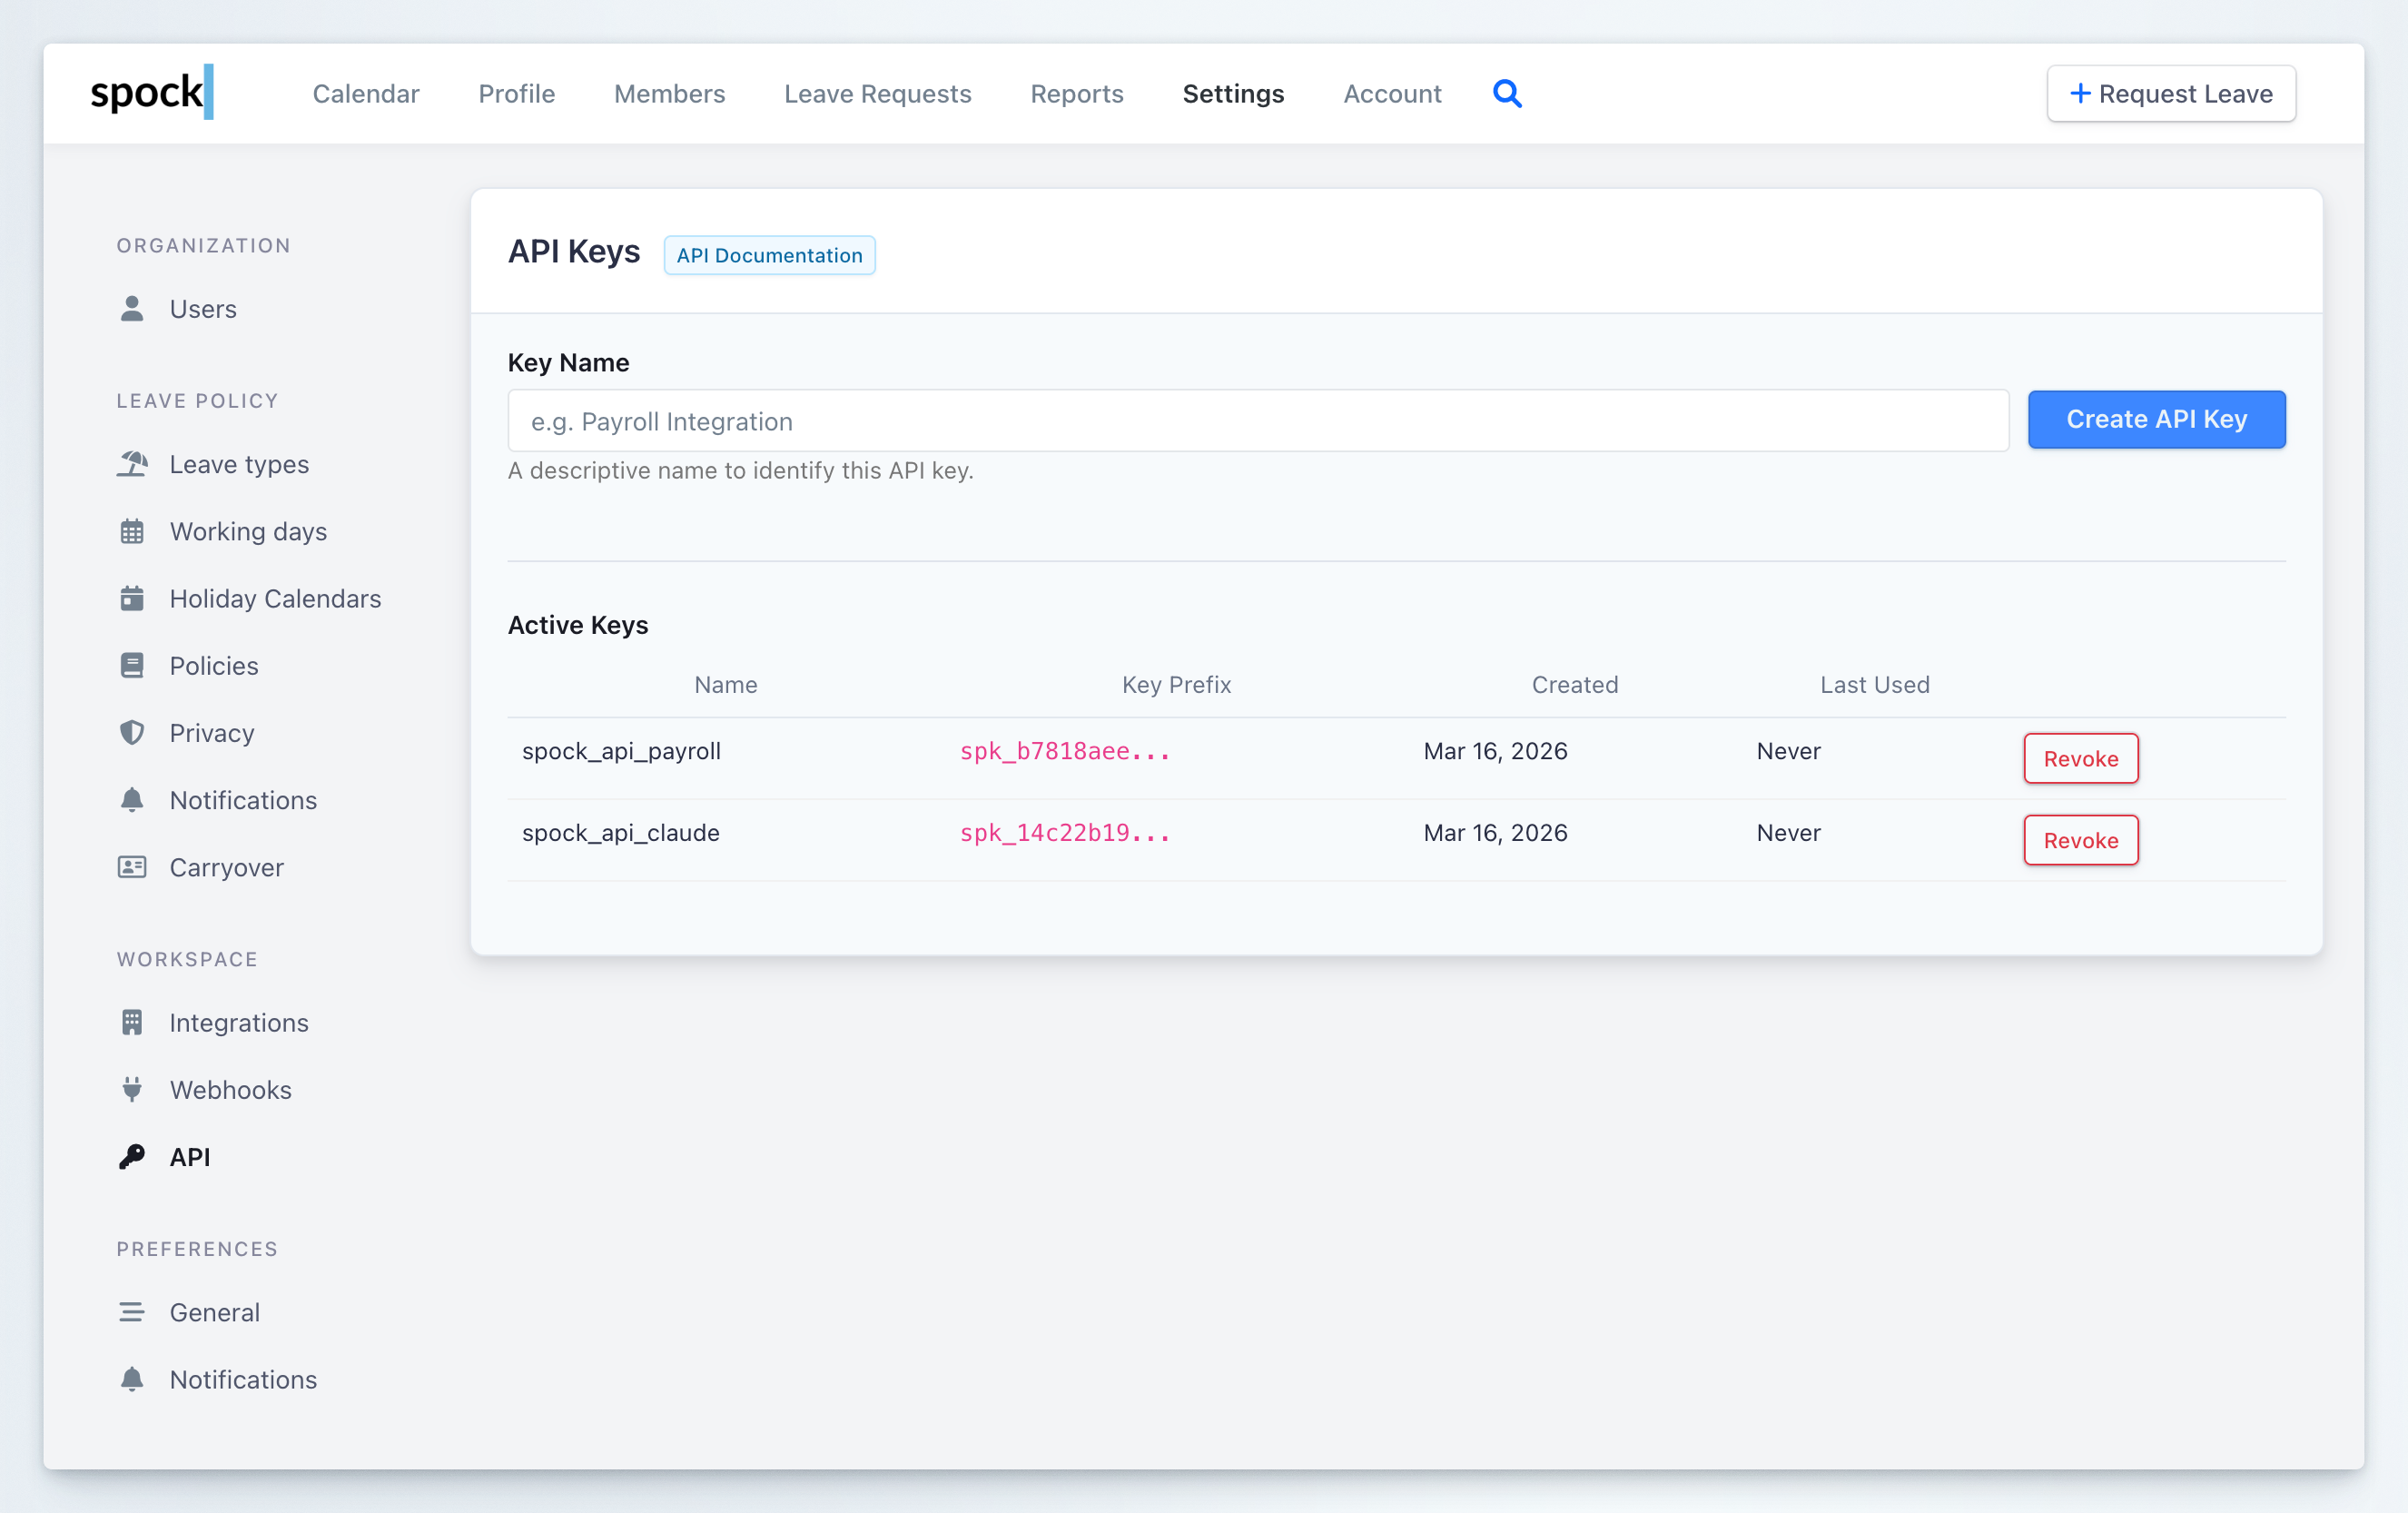
Go to Settings > API in your Spock Dashboard. Only service admins can access this page.
2
Enter a key name
Type a descriptive name in the Key Name field (e.g.,
Payroll Integration, HRIS Sync). This helps you identify the key’s purpose later.3
Create the key
Click Create API Key. Spock generates a new key and displays it in full.
Managing active keys
The Active Keys table shows all keys currently in use. Each entry displays:Revoking a key
Click the Revoke button next to any active key to deactivate it. Revoked keys stop working immediately and cannot be re-activated. Create a new key before revoking an old one to avoid downtime.Rotating keys
To rotate a key without interrupting your integration:1
Create a new key
Create a new API key with a descriptive name (e.g.,
Payroll Integration v2).2
Update your integration
Replace the old key with the new one in your integration’s configuration.
3
Verify the new key works
Confirm your integration makes successful requests with the new key.
4
Revoke the old key
Once the new key is confirmed working, revoke the old one.
Base URL
All API requests use this base URL:Available endpoints
Making your first request
Pagination
The API uses cursor-based pagination. Responses includenext and previous URLs — follow them to navigate through results.
Filtering
All list endpoints support these common filters:
Each endpoint also supports resource-specific filters:
Users filters
Users filters
Leave requests filters
Leave requests filters
Absences filters
Absences filters
Groups filters
Groups filters
Identifiers
All resource IDs in the API are opaque encoded strings (e.g.,"Kx3mP9", "vW7nR2"). Use them as-is in requests — do not attempt to decode or predict ID values.
Rate limits
Every response includes rate limit headers:
X-RateLimit-Limit— max requests in the current windowX-RateLimit-Remaining— remaining requestsX-RateLimit-Reset— epoch seconds when the window resets
429 response. Back off and retry after the reset time.
Error responses
All errors follow a consistent format:Best practices
Use incremental sync
For recurring data pulls, use theupdated_since parameter with the timestamp of your last sync. This is far more efficient than fetching all records every time.
Create dedicated keys per integration
Use separate API keys for each integration (e.g., one for payroll, one for your reporting dashboard). This way you can revoke or rotate a single key without affecting other integrations.Respect rate limits
Check theX-RateLimit-Remaining header and implement backoff logic. If you receive a 429 response, wait until X-RateLimit-Reset before retrying.
Store keys securely
Never hardcode API keys in source code. Use environment variables, a secret manager, or your platform’s credential store. Rotate keys periodically as a security measure.Handle pagination correctly
Always follow thenext URL from the response to paginate through results. Do not construct cursor values manually — they may change format without notice.
Related topics
Webhooks
Receive real-time push notifications when leave events occur.
Integration Settings
Configure organization-wide integration settings.
User Administration
Manage users that appear in the API responses.
Leave Types
Configure the leave types returned by the API.